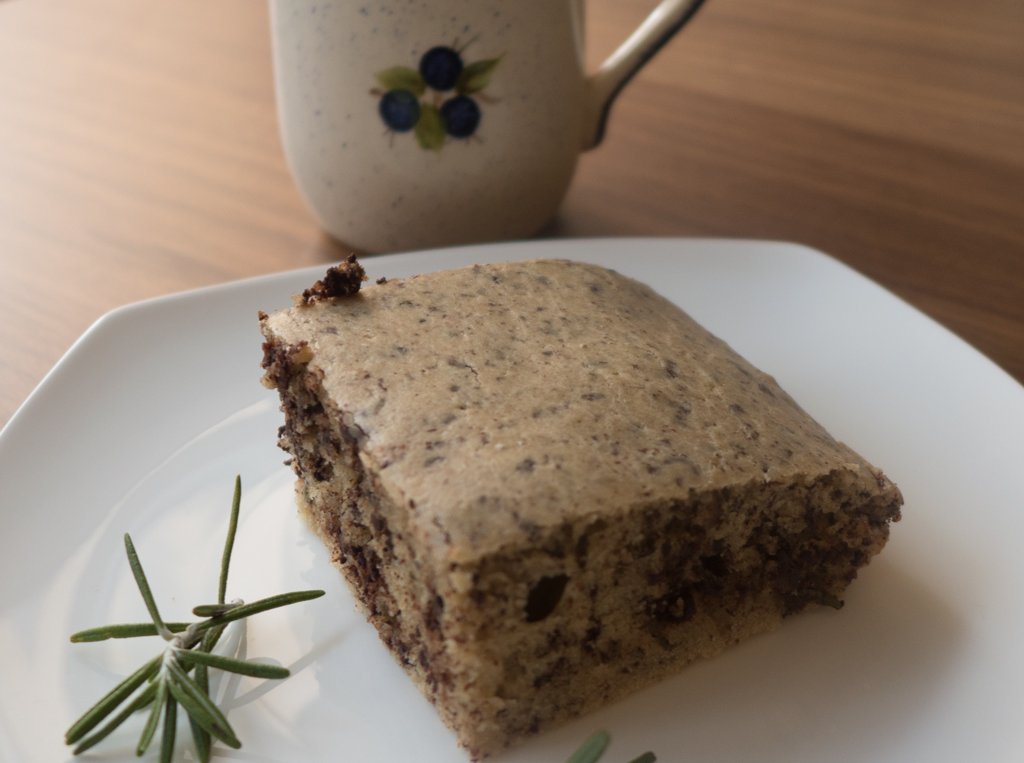
Rosemary and bittersweet chocolate olive oil cake

Observant readers will have noticed that one aspect distinguishing this blog from (seemingly) all others is the absence of cupcake recipes. Or, more generally, desserts. (Could this be why my readership remains, er, modest?) But, not having much of a sweet tooth, I seldom bake. It is saying something, then, that I have made today’s recipe for rosemary and bittersweet chocolate three times in the past two weeks. That’s how good it is! And simple, too: this cake practically bakes itself! By the way, you read that right: it contains rosemary as a key ingredient which, along with the bittersweet chocolate, adds an unusual and wonderful savory flavor.
I was introduced to this cake by my blogger friend, Rachel, when she came over for dinner not too long ago. I urge you to check out her other recipes over at Food Refuge. As for this one, Rachel writes that it is adapted from – via 101 Cookbooks – Good to the Grain by Kim Boyce. I’ve basically followed her version to a T, only reducing the oil and sugar a tad to suit my taste.
- 1½ cups all purpose flour
- ¾ cup spelt or whole wheat flour
- ½ cup granulated sugar
- 1½ tsp baking powder
- ¼ tsp sea salt
- 3 eggs
- 1 cup milk
- ¾ cup extra virgin olive oil
- 1½ tbsp chopped fresh rosemary
- 5 oz. roughly chopped bittersweet or dark chocolate with at least 70% cocoa content (or a combination)
- Preheat oven to 350°F
- Mix the flours, sugar, baking powder and salt together in a large bowl.
- Whisk the eggs, milk, olive oil, and rosemary in another bowl and pour over the flour. Mix well with a spatula or, better yet, your hands, adding the chocolate half way through. Taste the batter, adding more sugar if you like.
- Pour the batter into a parchment-lined baking or cake pan and bake until golden brown (about 15-20 minutes; a paring knife should come out clean when inserted).
- Allow to cool for a few minutes before serving.


